Mask Magic 2
At a building owned by the Community Corporation of Santa Monica (CCSM), I conducted a two-part mask making workshop! Families who rented units in the building attended, with children, spouses, and neighbors.
 The work created is breathtaking, and was shown last Friday November 4th at an exhibition entitled,
“The Artists Among Us“.
Here is this chapter of their story.
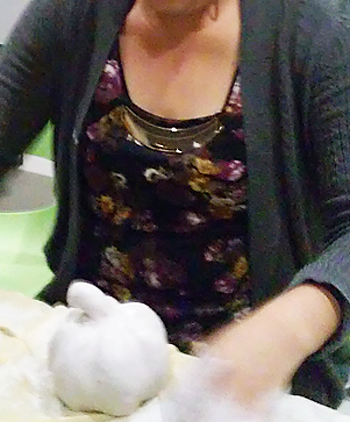
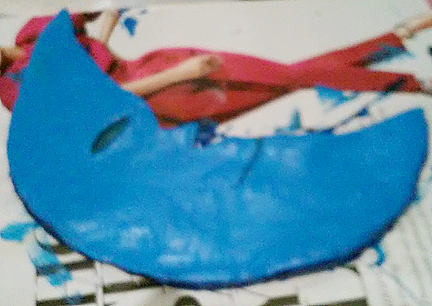
 During the first workshop, participants learned to pound out slabs of air-dry clay, create an “armature” with newspaper to give their masks depth, and form their clay slabs over the armature.
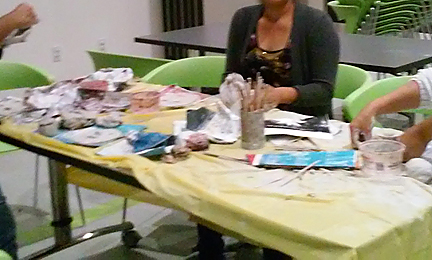
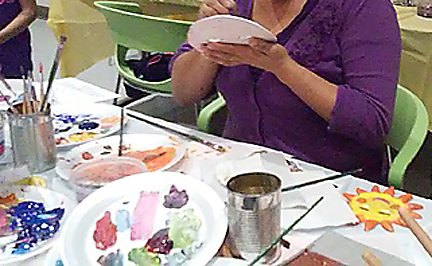
 The following week, participants used acrylic paints to add color, visual texture, design and pattern to their masks and other clay items, and also enjoyed painting on thick watercolor paper. As acrylic paints dry quickly, and are no longer water-soluble once dry, the artists were able to continue to add paint, details and layers.
 Reveling in color and brush work, this young artist filled her surface with exploration.
 I did not see this couple enter the room, and suddenly there they were, painting with complete concentration.
 Participant interaction makes the whole experience the more rich.
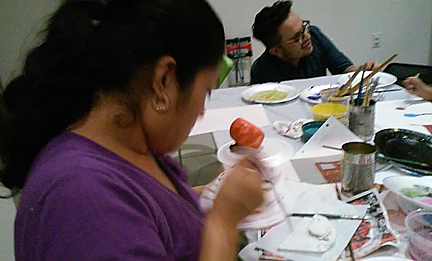
 Each got their own palette of colors on a Styrofoam plate, with empty plates available for mixing and discovering colors.
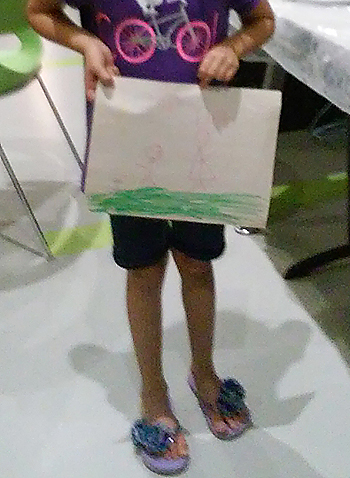 Green grass with delicate characters above. She must love purple. Maybe she will add it later to her painting!
 Focused artist and craftswoman.
 Adding detail. Every brush I brought seemed to have been used!
 She seems to know exactly what she wants to paint, as if the vision was already inside her head.
 Energetic color, imagery, brush strokes and composition create movement in this piece.
 A lion happened on this plate! Painting? Mask? Both?!
 He said it was his first time painting…he must be a natural. What talent!
Many thanks to the marvelous and devoted Rene Melara, programmer extraordinaire, for the opportunity to work with these wonderful participants, and see their artwork blossom.
Bravo!
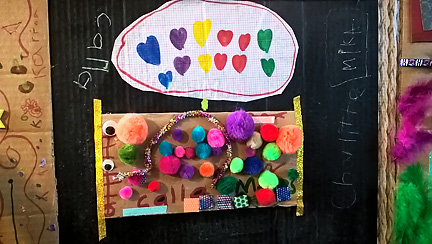
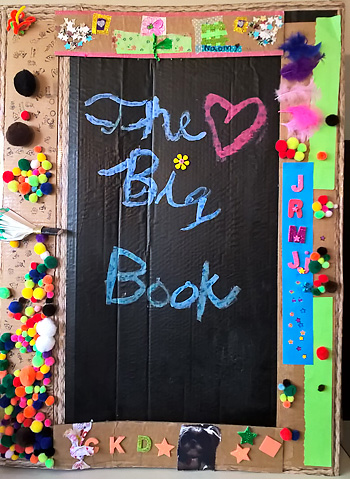
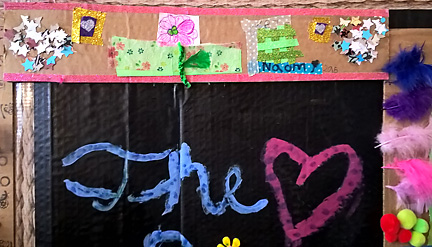
 Images of students working on their book projects…on The Big Book…
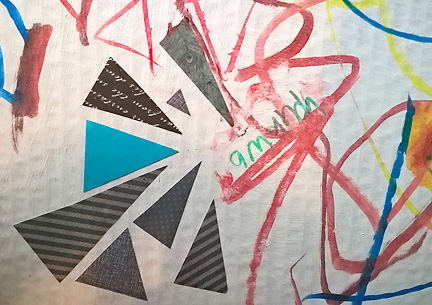
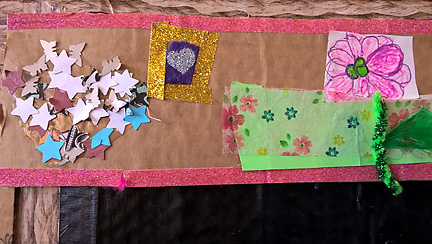
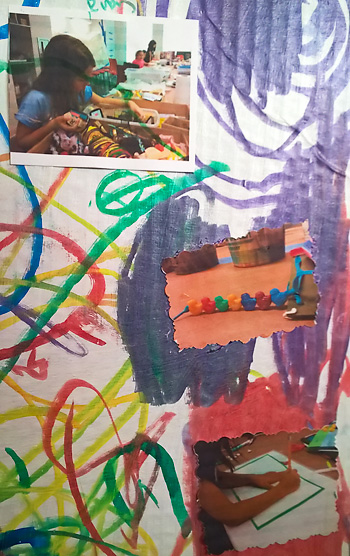 We used beads, paint pens, ribbon, paper, and much more…
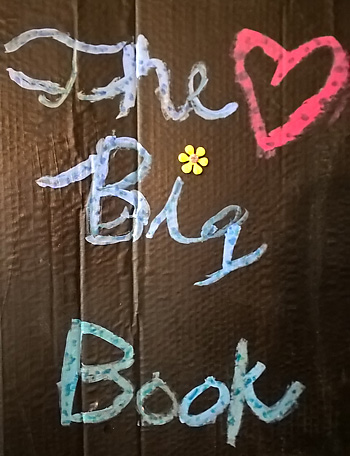
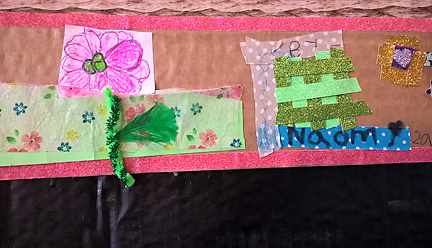
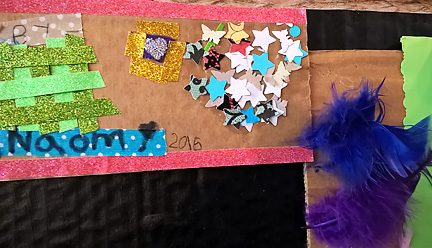
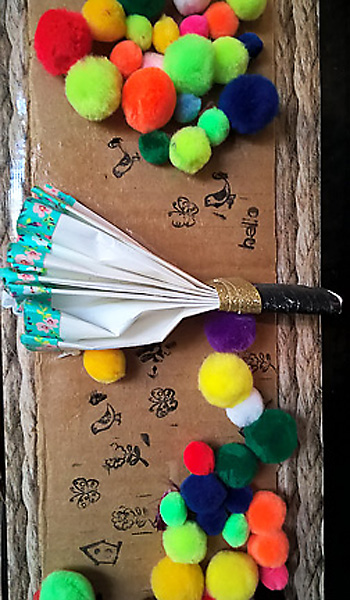
 Because the students were a range of ages, there were a range of effects,